Try to reset your Time Zone.
For Android Users
Step 1: Open Settings

Step 2: Navigate Addition Settings or Search Date and time
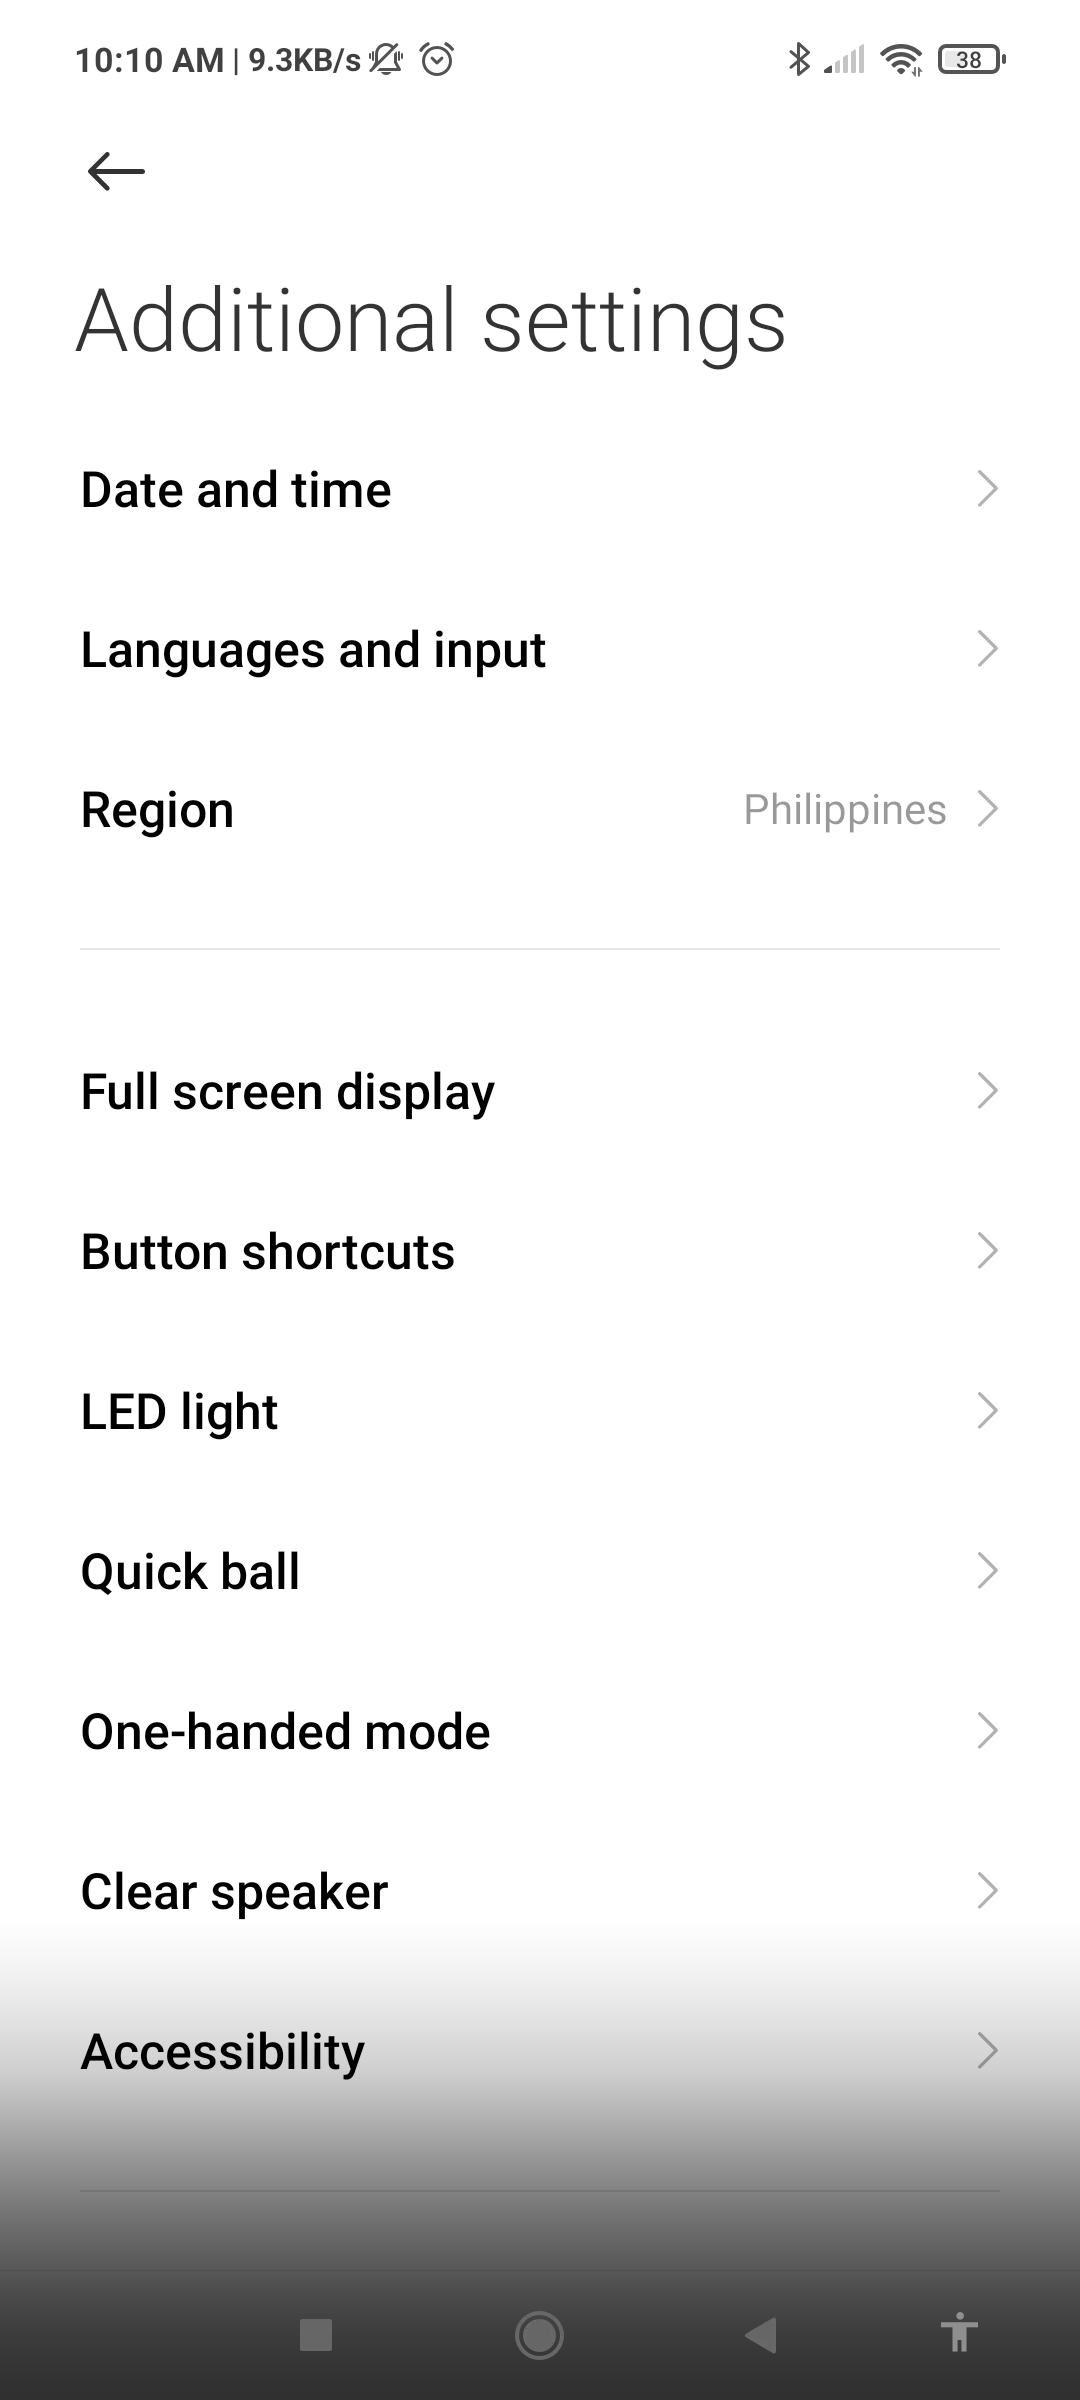
Step 3: Open Date and Time, You can set “Use Net-Provided time” to set the time automatically

Step 4: You can set the time and date manually by Disabling “Use Net-Provided time”
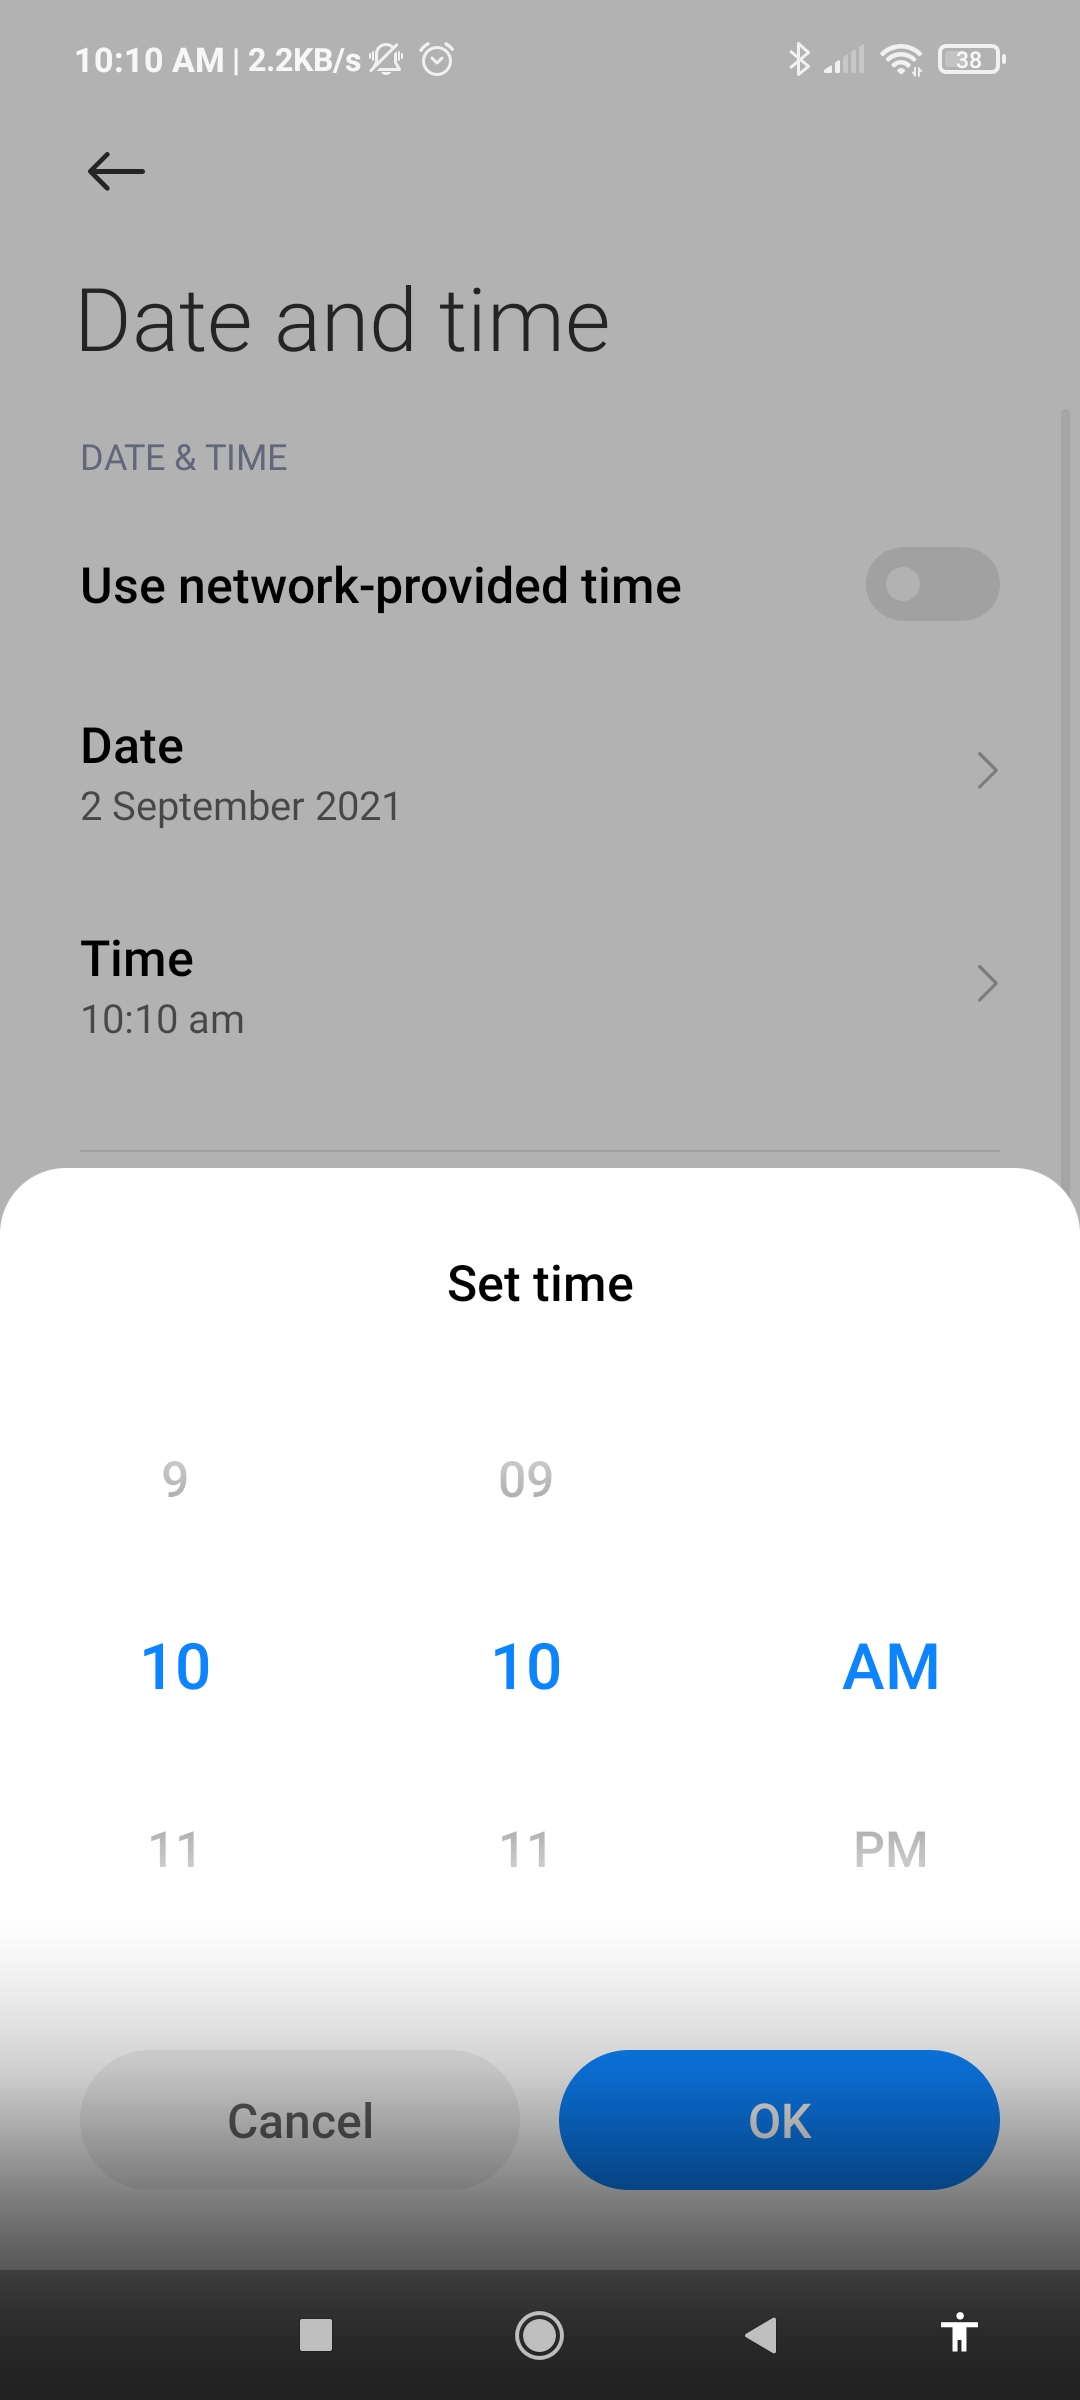
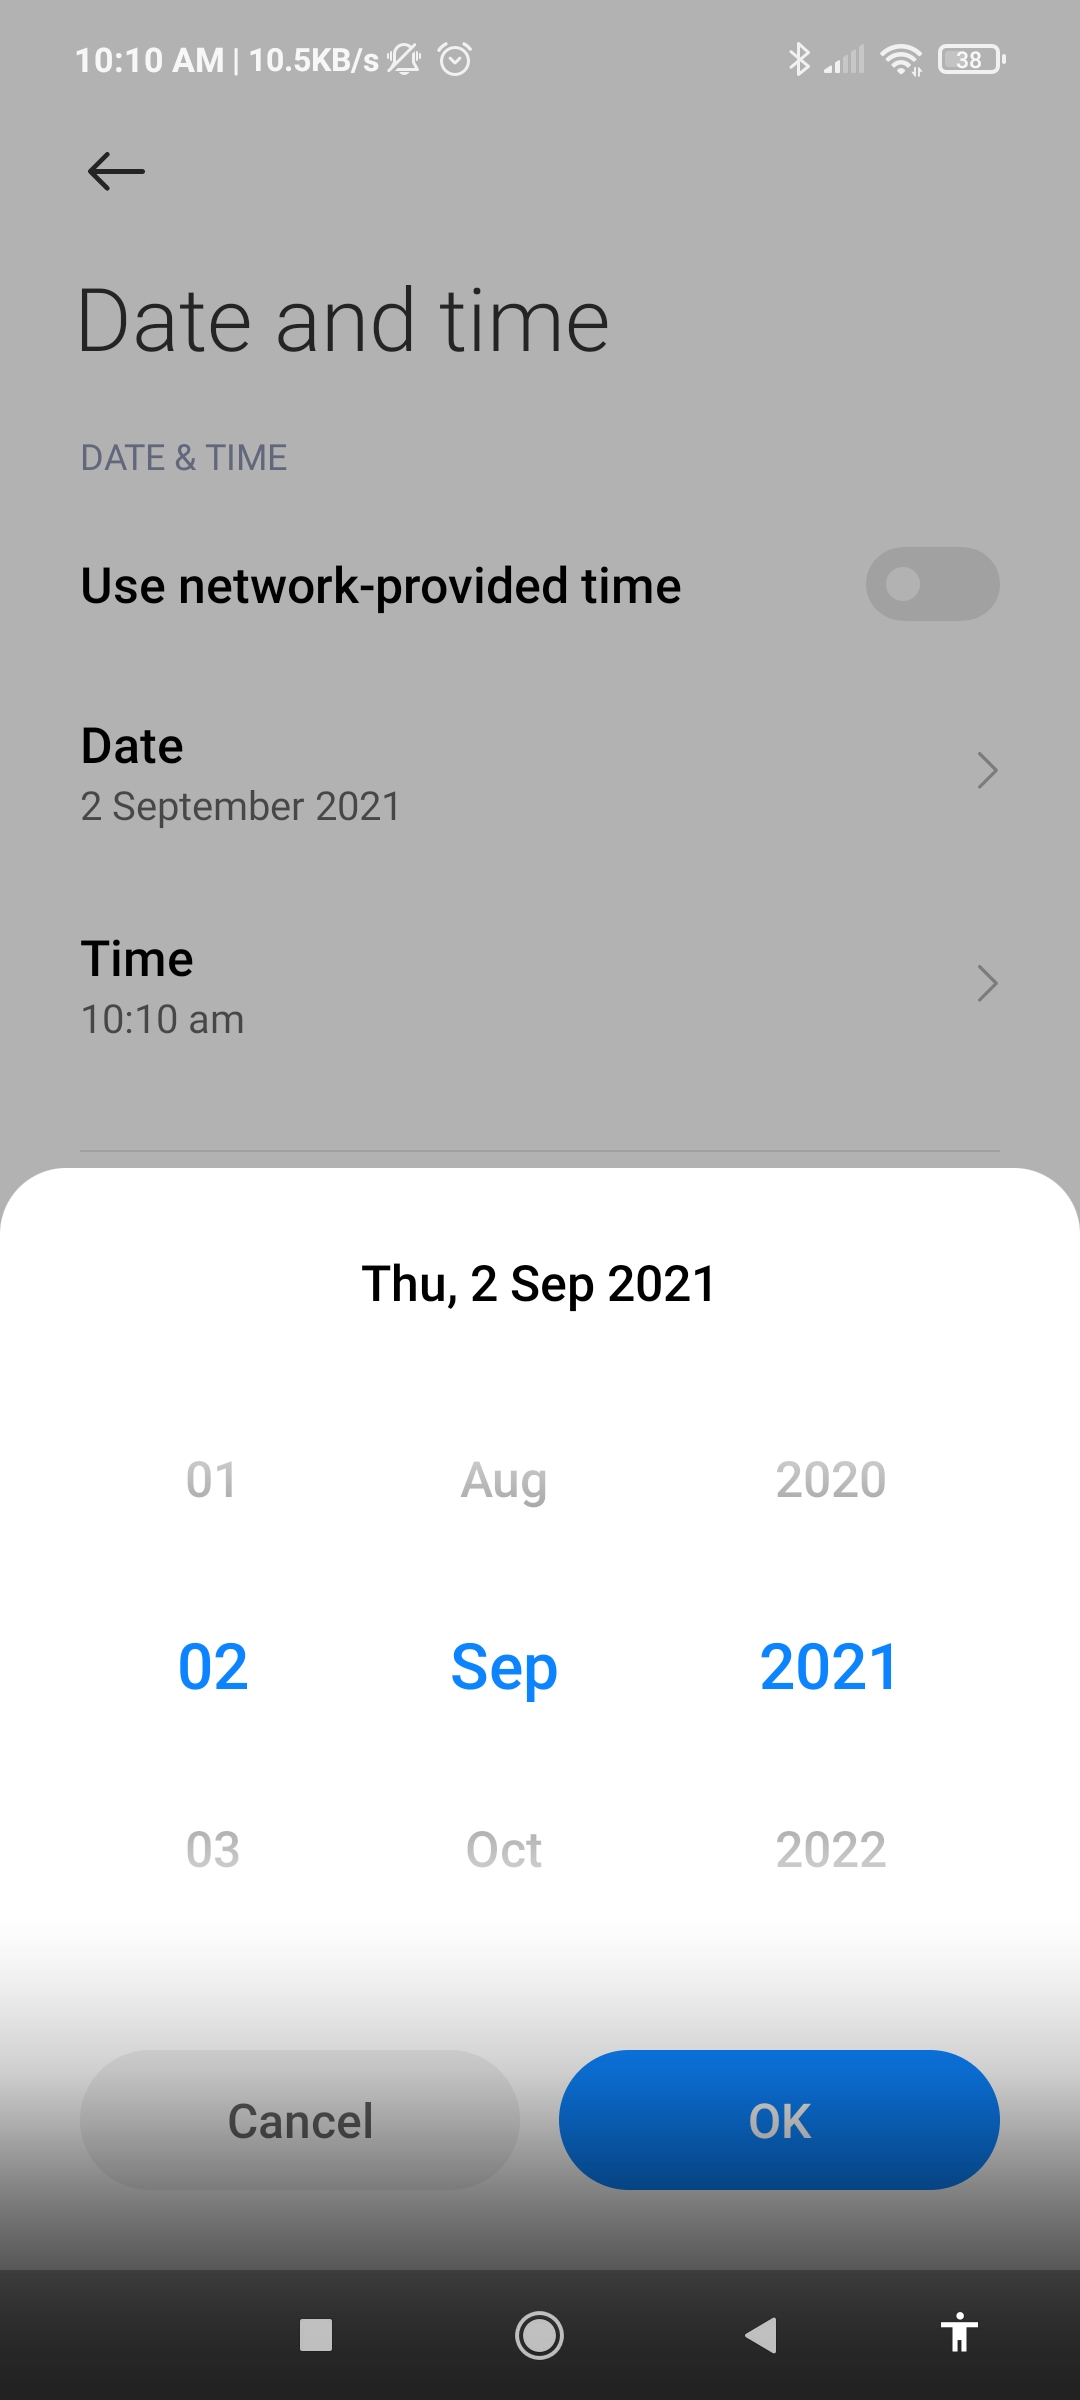

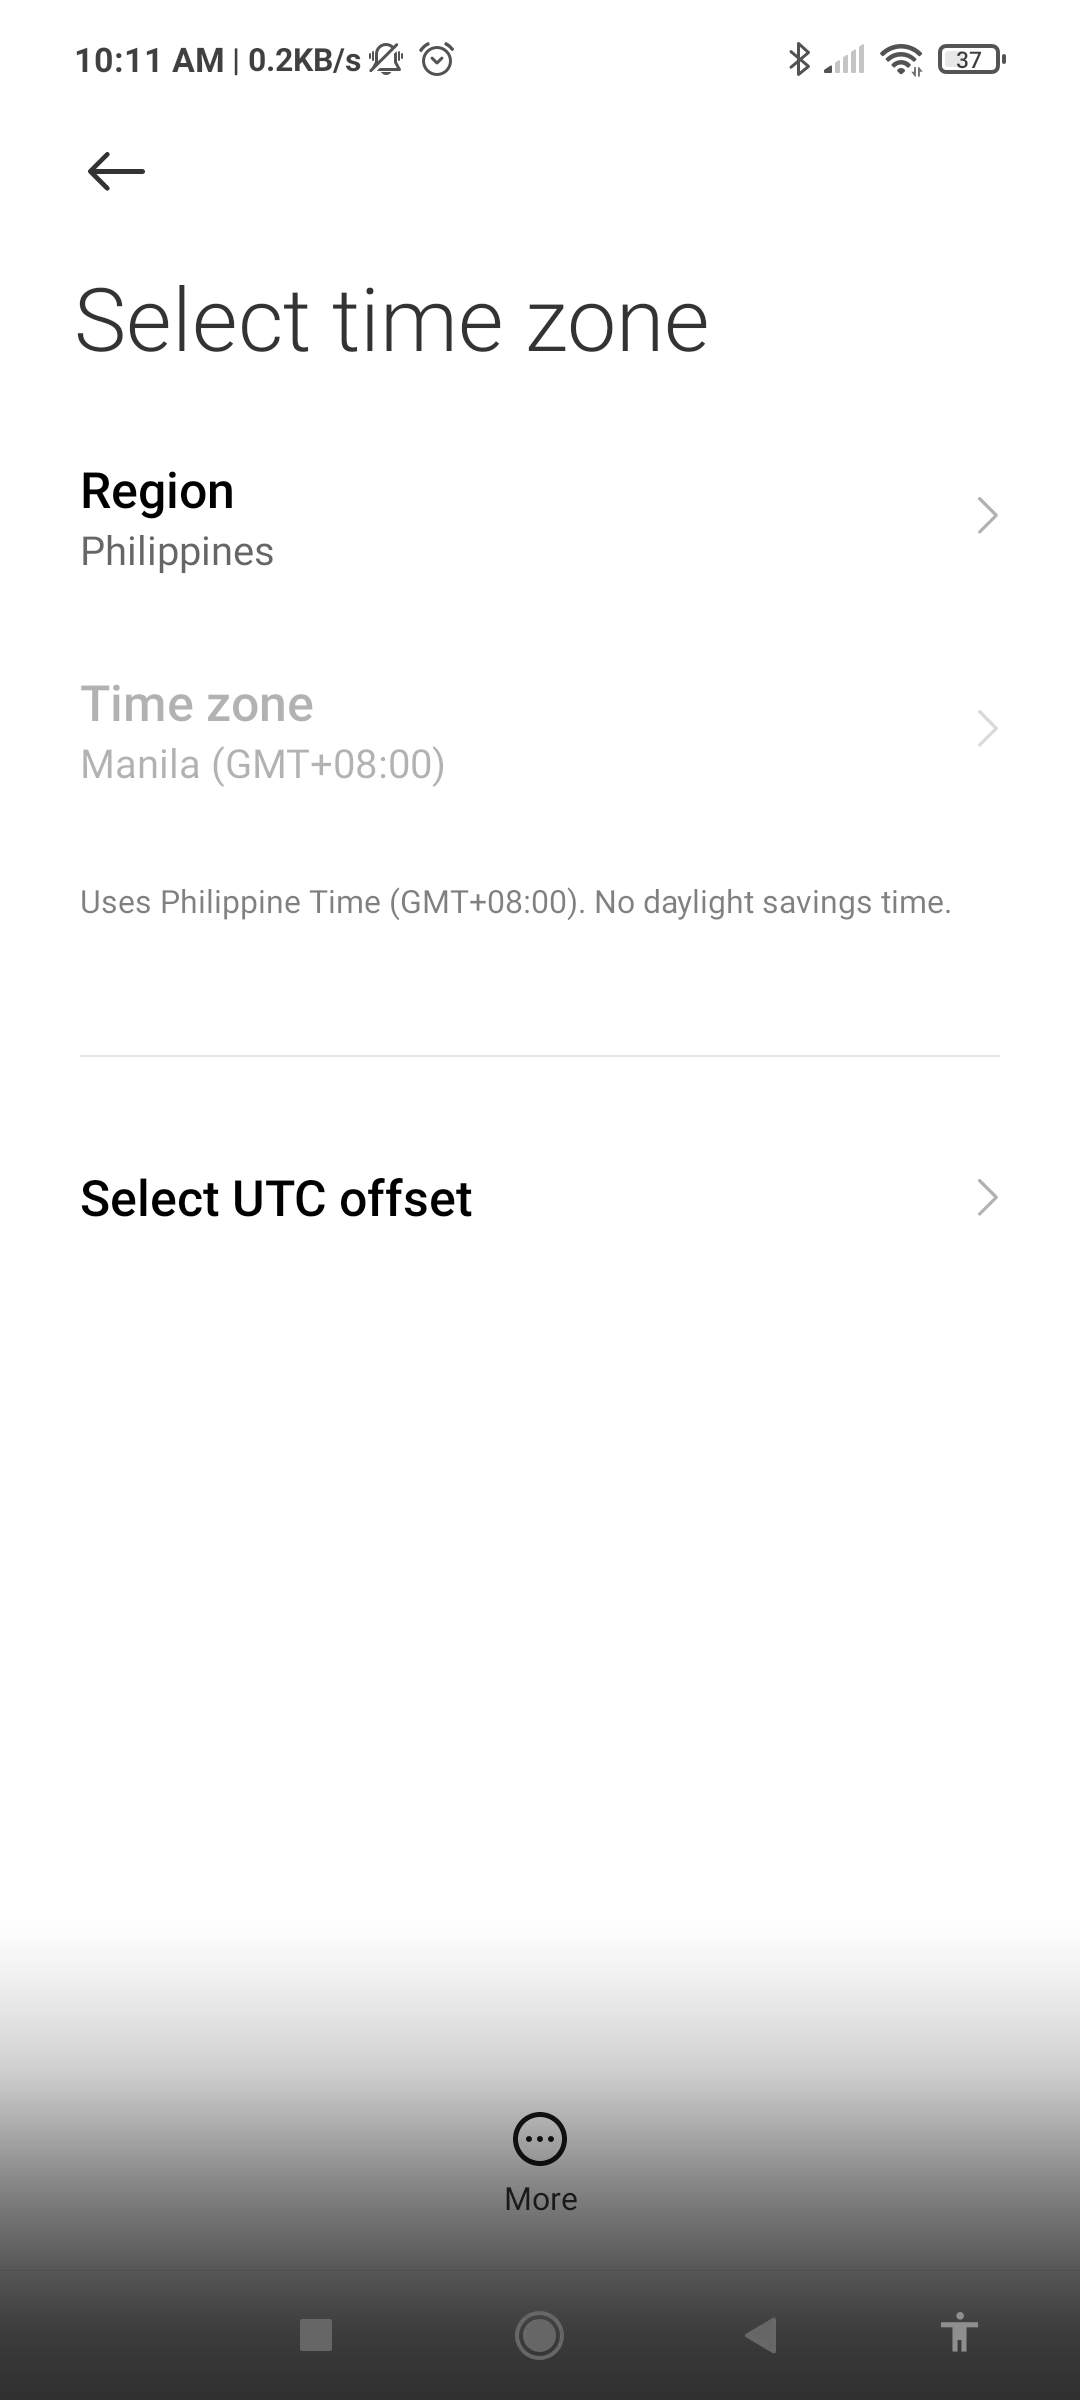
Step 5: Select the +08 GMT time zone
For Windows OS Users
- Windows 10
Step 1: Click the Windows Start button and then search Time Zone.

Step 2: Search and click Change Time Zone.

Step 3: Click the Change Time Zone button.

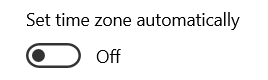
Step 4: Toggle off the Set time zone automatically.
Step 5: Set your time zone into any UTC +8 Time Zone.

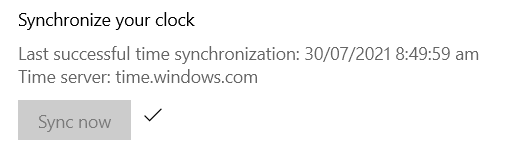
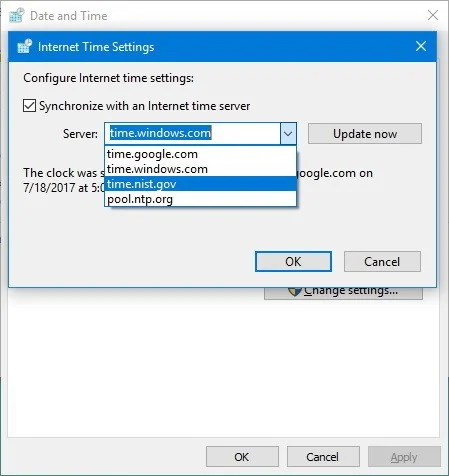
Step 6: Check the Synchronize with an Internet time server box and select an available Internet time server from drop down menu.
You May Also Manage Your Time Server
Step 1: Open Control Panel.
Step 2: Click on Clock, Language, and Region.
Step 3: Click on Date and Time.
Step 4. Click on the Internet Time tab.
Step 5: Click the Change settings button.
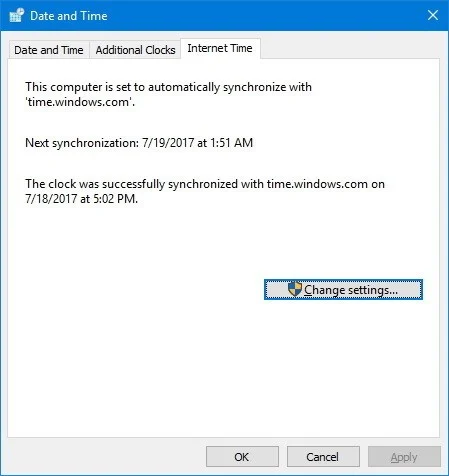
Step 6: Check that the Synchronize with an internet time server option is selected.
Step 7: Use the drop-down menu to select a different server.
Step 8: Click the Update now button to synchronize the time with the new server.
Step 9: Click OK.
Step 10: Click Apply.
Step 11: Click OK
After completing the steps, Windows 10 will keep the time synchronized over the internet with the server you selected.
- Windows 7
Step 1: To set the time zone in Windows 7 and Vista, left-click on the clock in the icon tray at the bottom right of your computer screen.

Step 2: This should show the clock, date and calendar. Click on Change date and time settings... to get the Date and Time menu. (Alternatively, use Start > Control Panel > Date and Time.)

Step 3: Click on Change time zone and select any UTC +8 Time Zone.
Step 4: When you have the correct time zone, check that the time displayed in the Date & Time tab is correct. If not, change it and click Apply.
Step 5: When complete, click on OK.
Note: Exit and Restart your PC to see changes.
For Apple Users
- iPhone, iPad, iPod touch:
Step 1: Open Settings.
Step 2. Tap "General."
Step 3. Tap on "Date & Time", about 4 groupings down, just below "Accessibility."
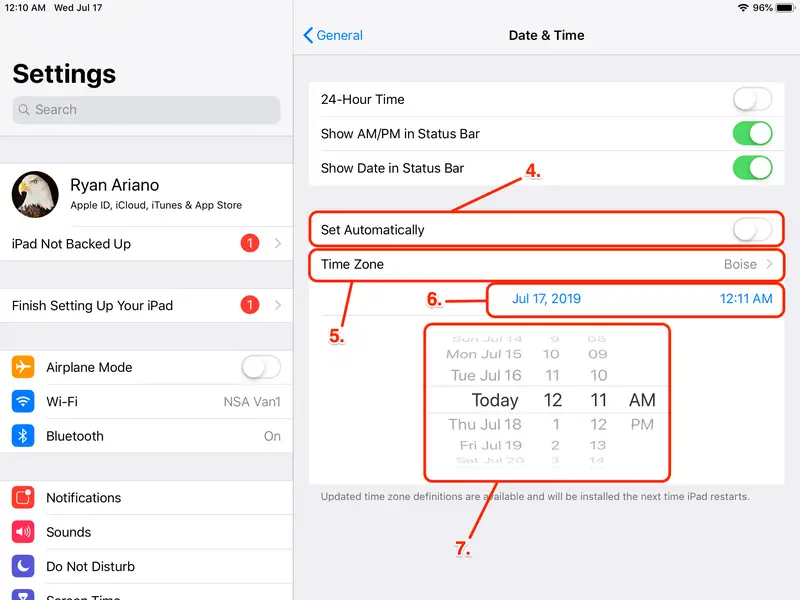
Step 4. Tap on "Set Automatically" to turn it off (it'll show white instead of green).
Step 5. Tap on "Time Zone" and enter the correct one if the iPad is wrong — or if you want to set it to a different zone.
Step 6. Tap on the line with the date and time (e.g. "July 17, 2019 12:02AM")
Step 7. Scroll down through the date on the left and the time on the right to set it manually.

Step 8: Return to General to see changes.
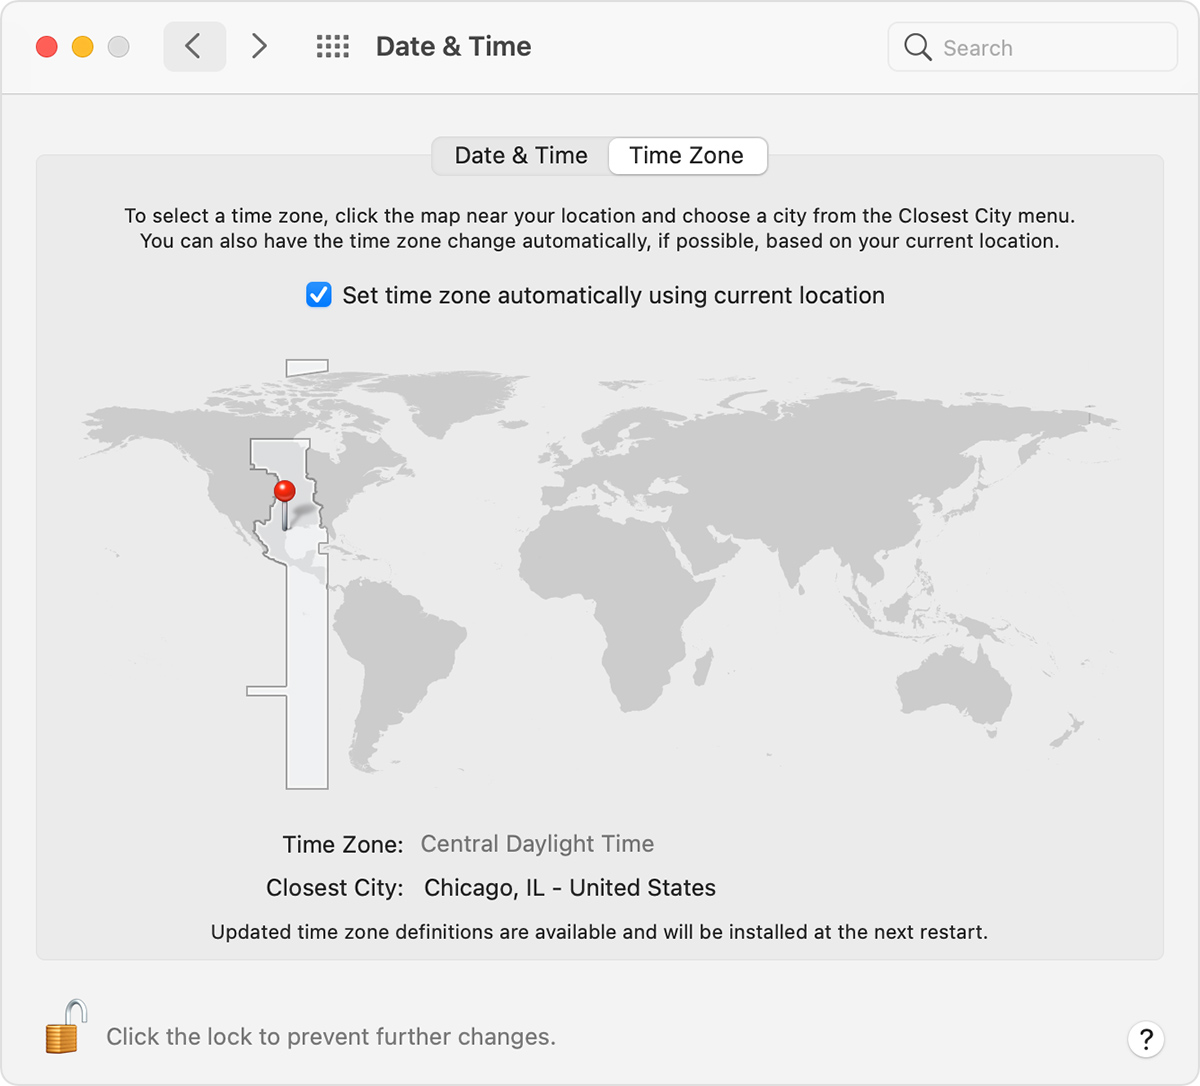
- Mac:
Step 1: Choose Apple menu > System Preferences, then click Date & Time.
Step 2: Click the lock

in the corner of the window, then enter your administrator password to unlock the settings. (The settings are dimmed when locked.)
Step 3: In the Date & Time pane, make sure that ”Set date and time automatically” is selected and your Mac is connected to the internet. Your Mac can then get the current date and time from the network time server selected in the adjacent menu.

Step 4: In the Time Zone pane, select a country that has UTC+8 Time Zone.