
Step 1: From your dashboard. Select a particular class.

By default, you will be prompted to the social tab.

Step 2: On the social tab, navigate to the scheduled post and click Posts Scheduled.

A preview of all scheduled posts will be prompted.

- Updating post
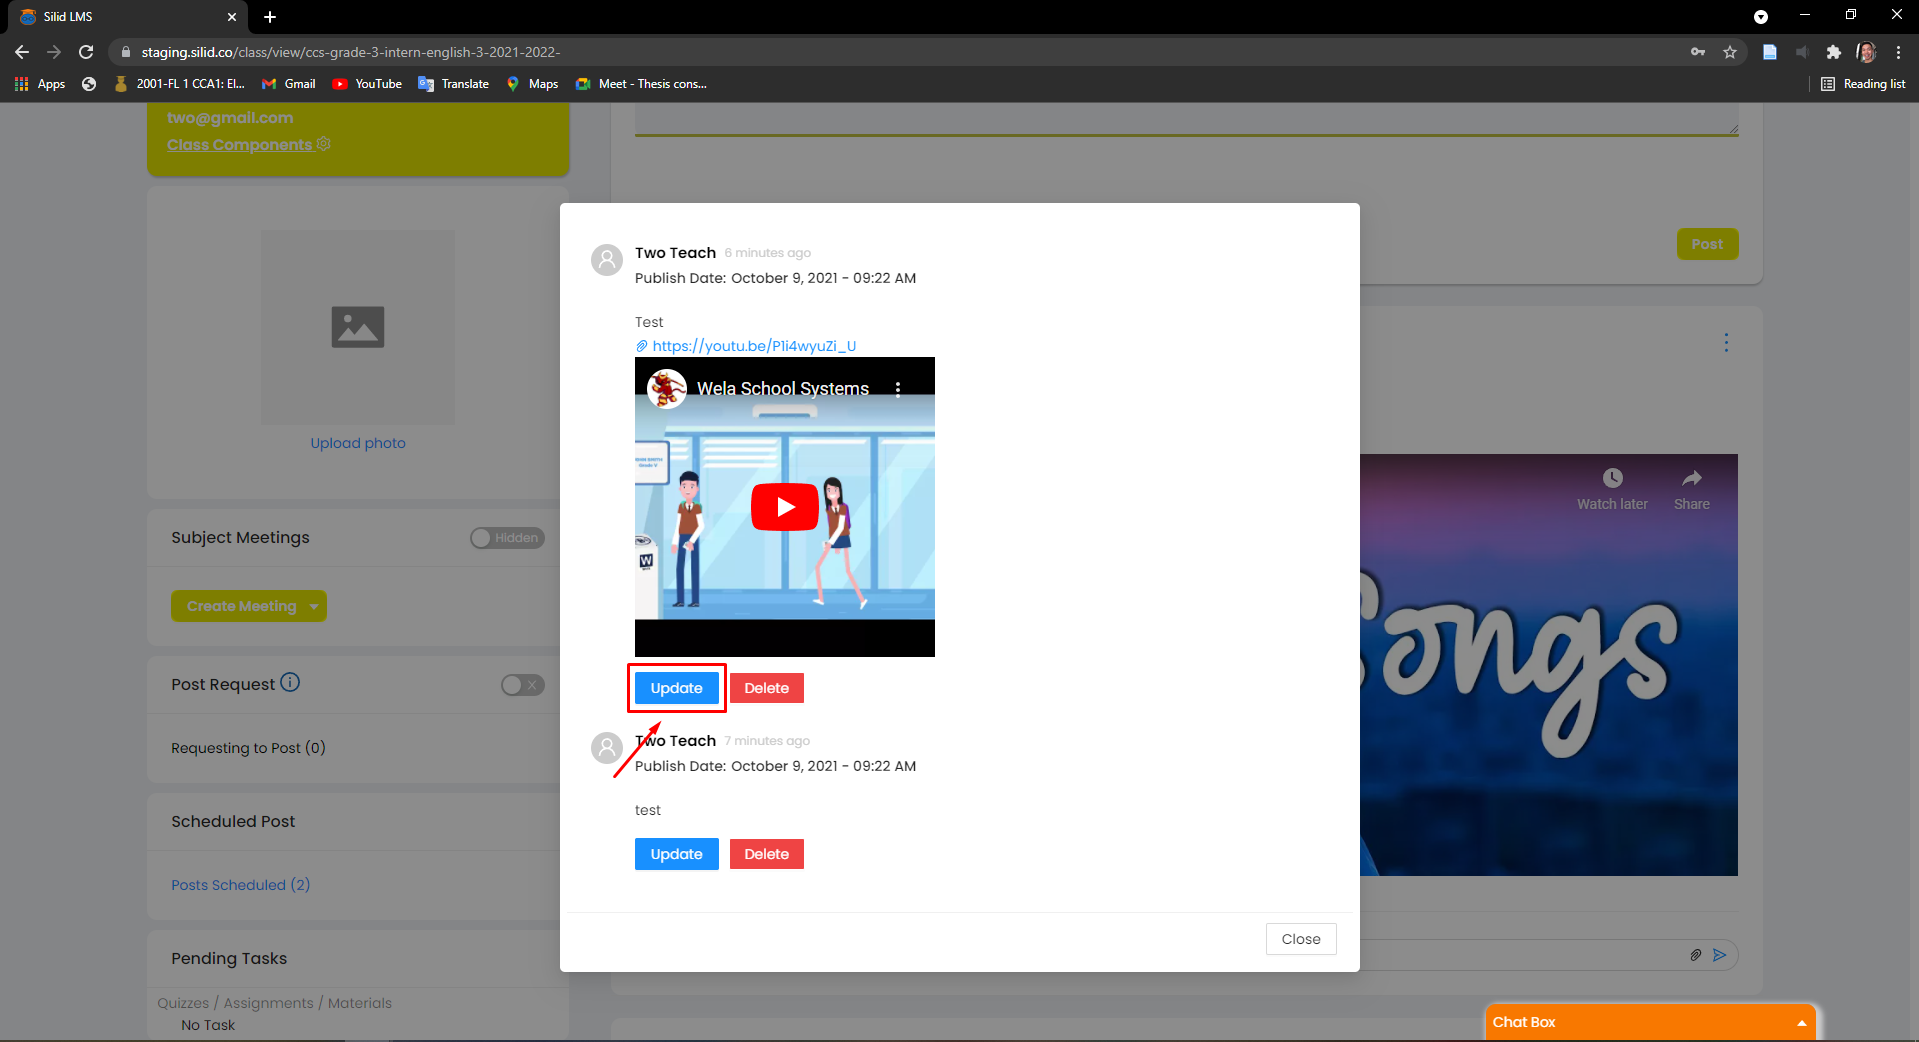
Step 1: From the preview, select the particular post you want to update and click its update button.
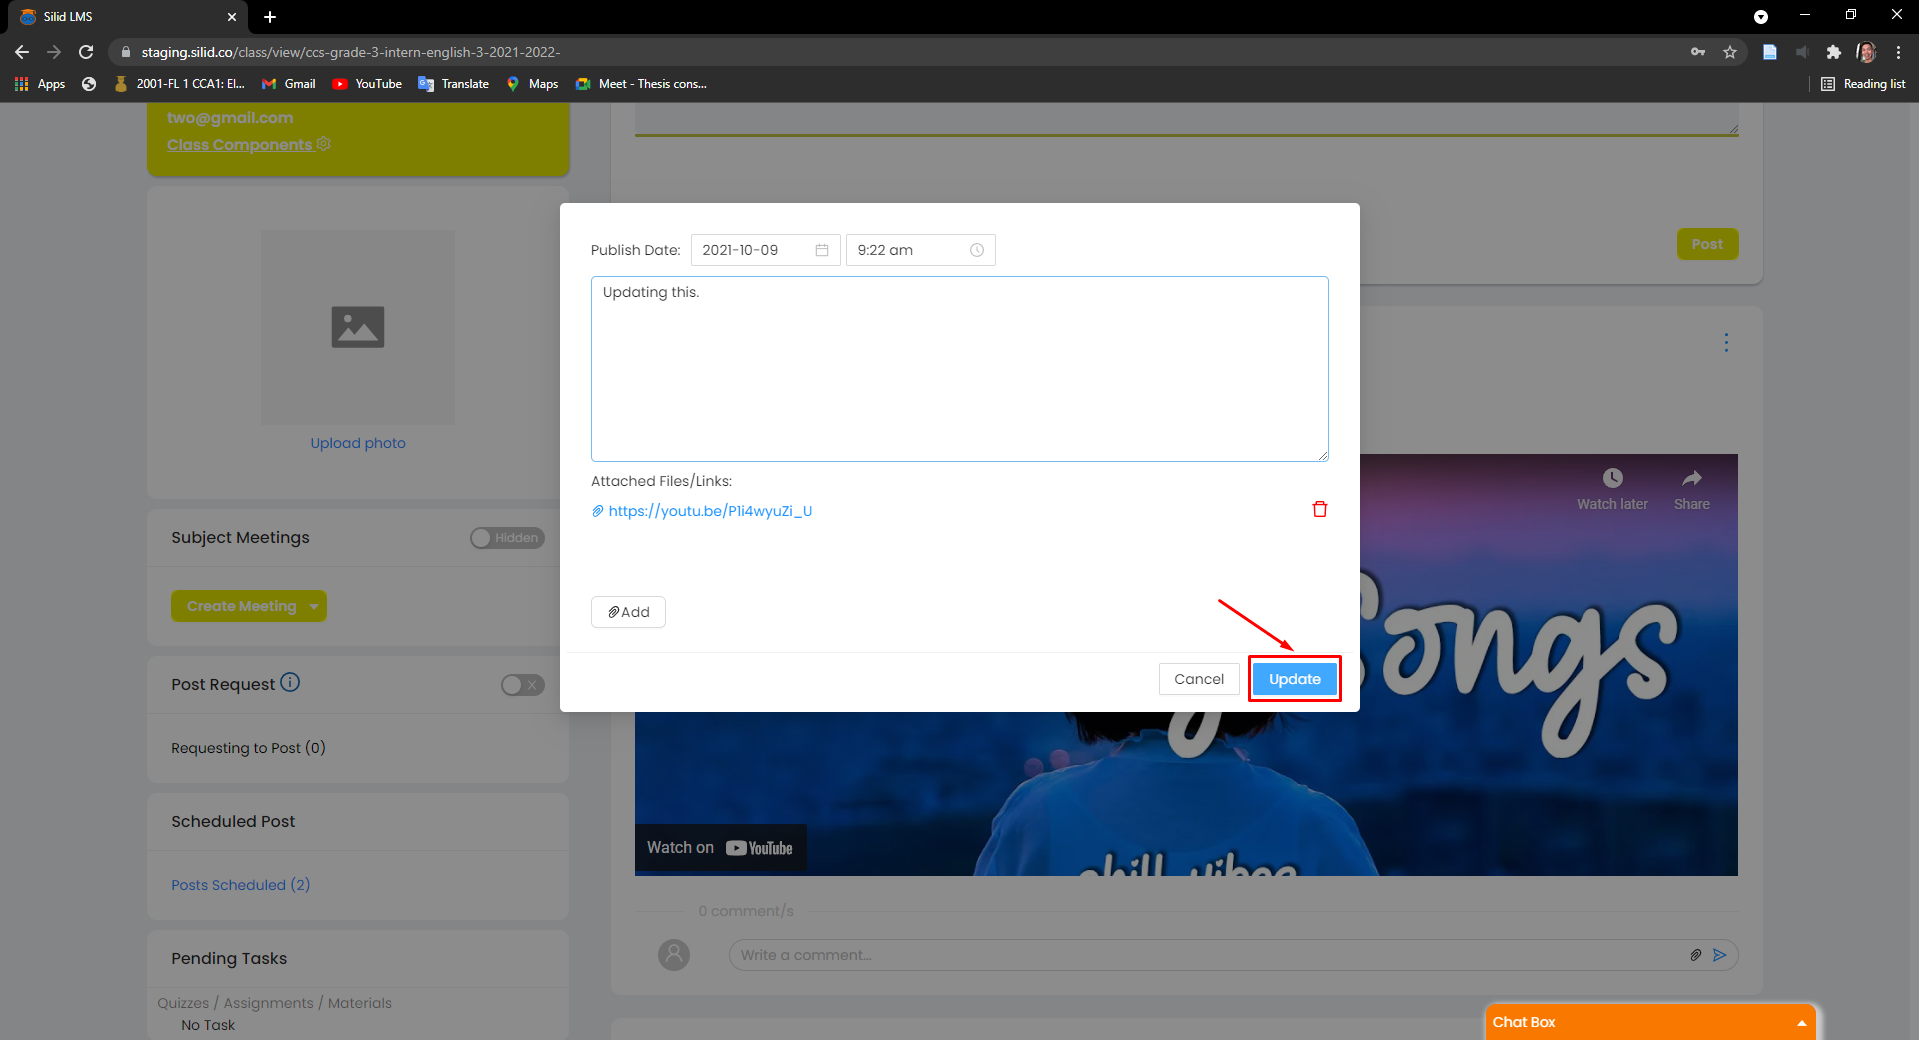
Step 2: Enter information in the field you want to update.

Step 3: Lastly, click the update button.
- Deleting post
Step 1: From the preview, select the particular post you want to delete and click its delete button.

Step 2: Enter provided keyword on the text field and click delete to confirm the deletion.
